Introduction
This project aims to build a self driving rc car equipped with a Raspberry Pi 3 B+ running ROS and an Arduino MKR1000 to control the motor and the servo for steering. To find its way around it uses a camera. The project is split into four parts, to adress the following main components of the robot.
Arduino MKR1000 responsible for the low level control. Raspbery Pi 3 B+ running ROS to perceive the environment and act accordingly. The rc vehicle and its parts System integration: combining the components.
In this part I will show how to install the Arduino IDE on ubuntu 16.04, install ROS Kinetic and a library called rosserial. This library provides a client library called rosserial_arduino, which allows us to get ros nodes up and running easily.
Prerequisites
If you followed the previous tutorial to setup a ubuntu 16.04 guest virtual machine on virtualbox running on macOS, you are ready to follow this tutorial. However, it’s not required to have ubuntu running on a virtualbox. Feel free to install ubuntu 16.04 directly on your machine to get the best experience regarding performance.
The reason we use ubuntu 16.04 is that it is an LTS version and recommended by the ROS Kinetic distribution which itself has LTS, supported until April, 2021.
Arduino IDE
Let’s boot your ubuntu 16.04. LTS and download the latest Arduino IDE which, to the time of writing, is Aruindo 1.8.5 IDE. Select the Linux 64 bits version.
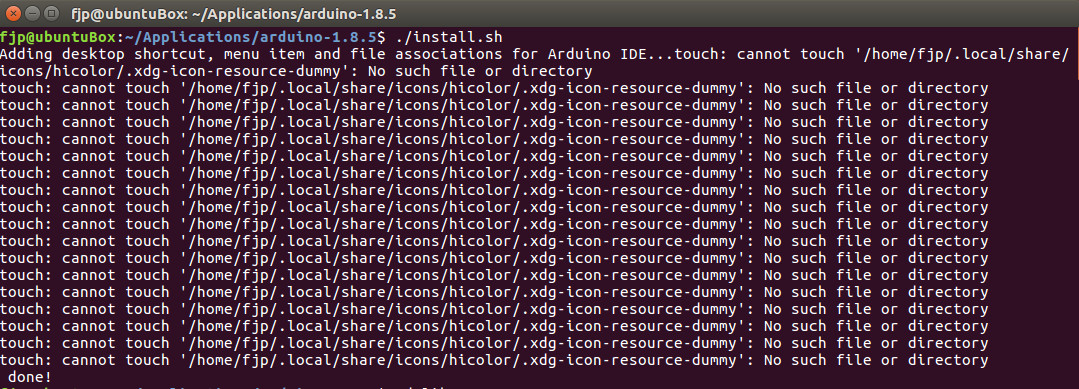
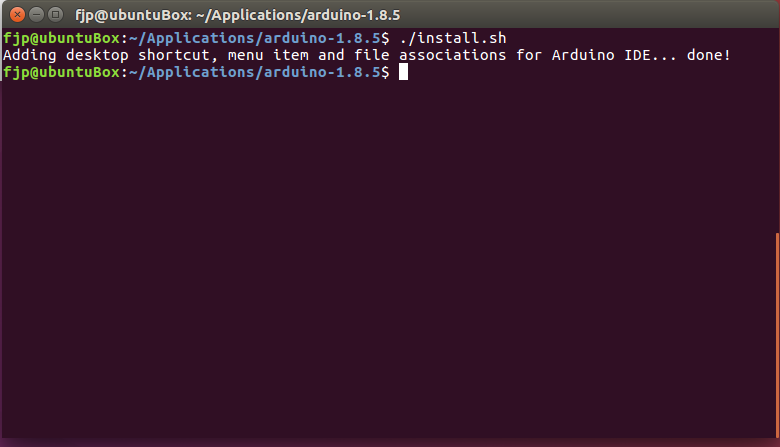
After the download finished, extract the tar using the gui or the terminal command tar -xf archiv.tar. Then cd to the folder in a terminal and run ./install.sh without sudo. I had to execute this command twice because the first time a folder was missing.
1st attempt running ./install.sh
2nd attempt running ./install.sh
After that you find the Arduino IDE shortcut on the desktop or through the ubuntu unity launcher. Its convenient to add a shortcut to the sidebar, which can be done while the IDE is running. Just right click the icon in the sidebar and pin it.
Arduino MKR1000 Connection
Now we arrived at the trickiest part of this tutorial. The remaining chapters are more straight forward and exciting than being able to upload your first sketch - Arduinospeak for your program - to the MKR1000. I will outline the important parts that I missed while following the available online tutorials and which way worked for me.
The following steps are necessary because I am running ubuntu in a virtualbox on my MacBook Pro with usb c connectors. I was not able to use the serial port of the virtualbox as explained in this or this tutorials. Furthermore, I do not recommend using ino because it does not support the MKR1000 out of the box and I could not find a way to get it up and running. There is an official Arduino command line IDE (cli) from Arduino, which you can use if you don’t like the Arduino GUI IDE.
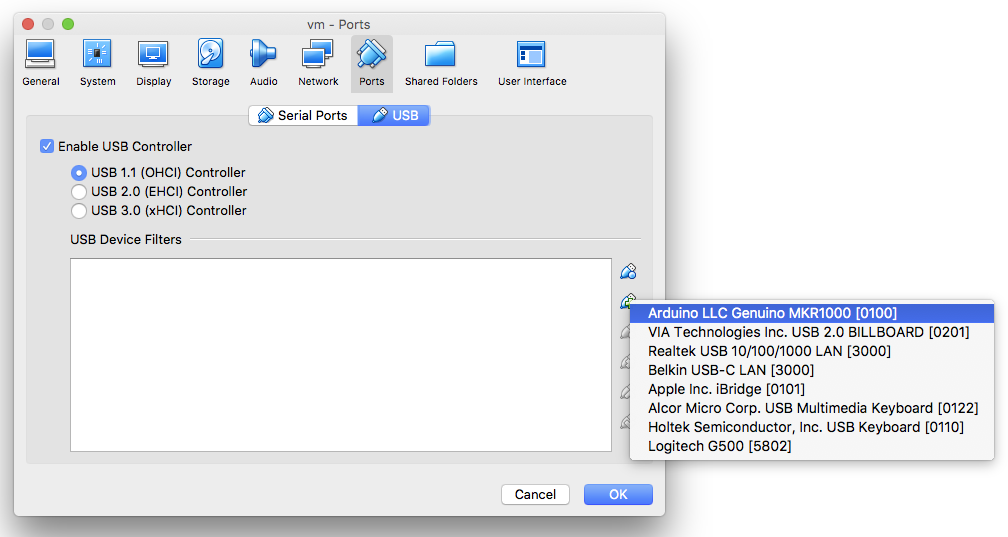
The first important step we must take to get the Arduino IDE talking to the MKR1000 board (being able to upload sketches) is to connect it via usb and add the Arduino USB device filter to the ubuntu virtual machine. Otherwise our Mac host could claim the device for itself, which will result in errors while uploading from the ubuntu guest. Therefore, we define a device filter for the connected Arduino in the settings of the virtual machine.
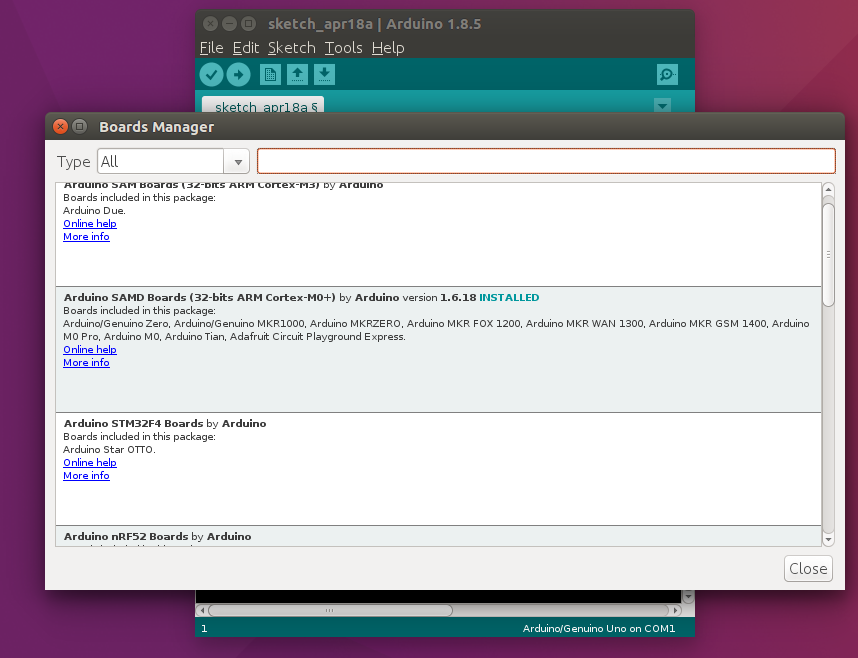
Now that we have set up a usb device filter open the Arduino IDE. Then go to the Boards Manager in the Tools menu because the MKR1000 is not available by default.
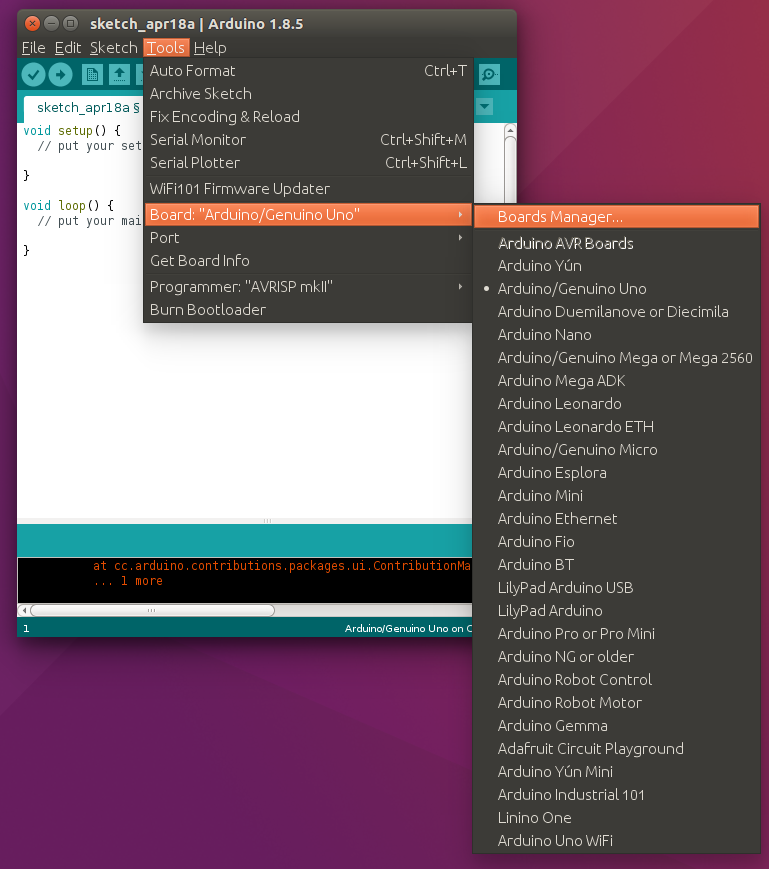
Select the Arduino SAMD Boards (32-bits ARM Cortex-M0+) to install the latest version (1.6.18 in my case) which adds the MKR1000 to the Boards menu.
After the installation finished, select the MKR1000 Genuino and choose /dev/ttyACM0 from the Serial Port menu.
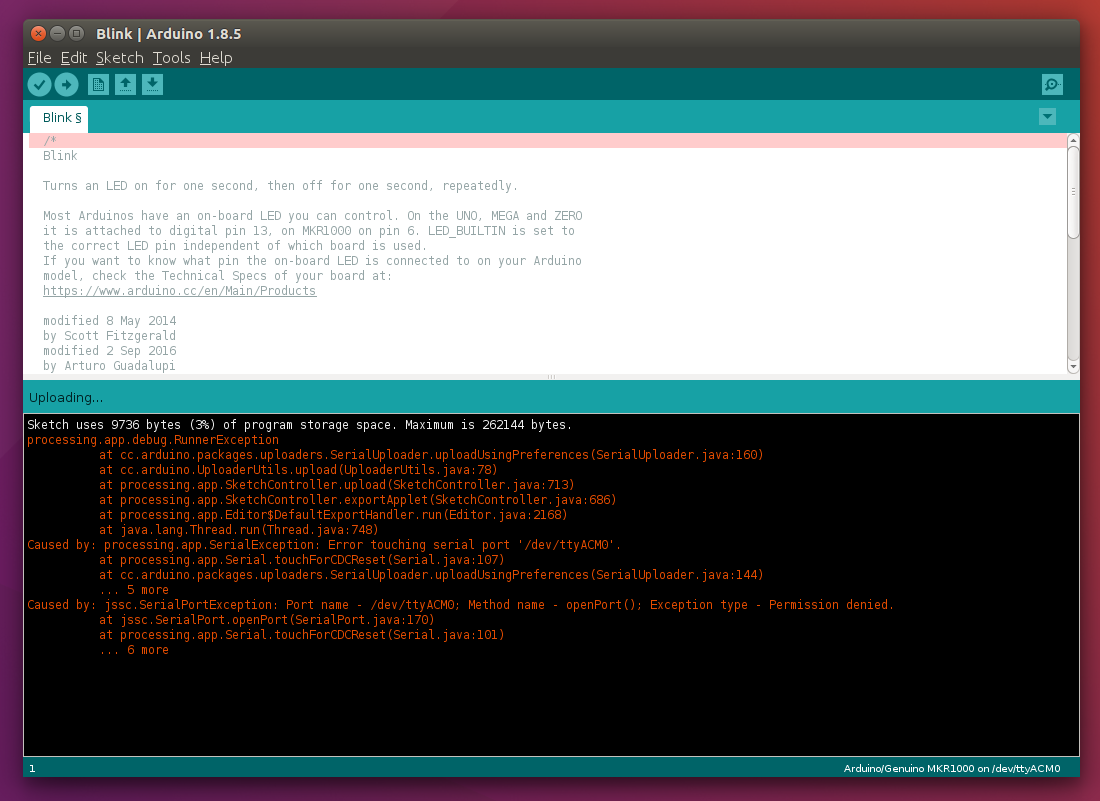
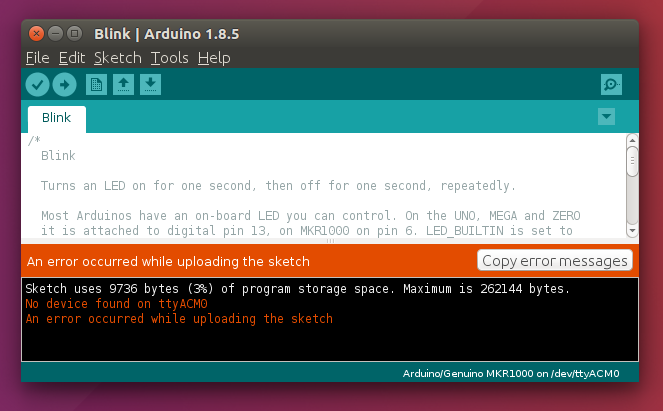
Now it is time to try uploading a first example sketch. Open the Blink example from the File menu and press upload. While uploading you will receive an error due to missing dialout permissions for the device. The error will look something like this
To solve this issue enter the following command in a terminal, which will add your username to the dialout group:
sudo usermod -a -G dialout $USERAfter that log out and back in for the changes to take effect.
Now when you try to re-upload see what happens:
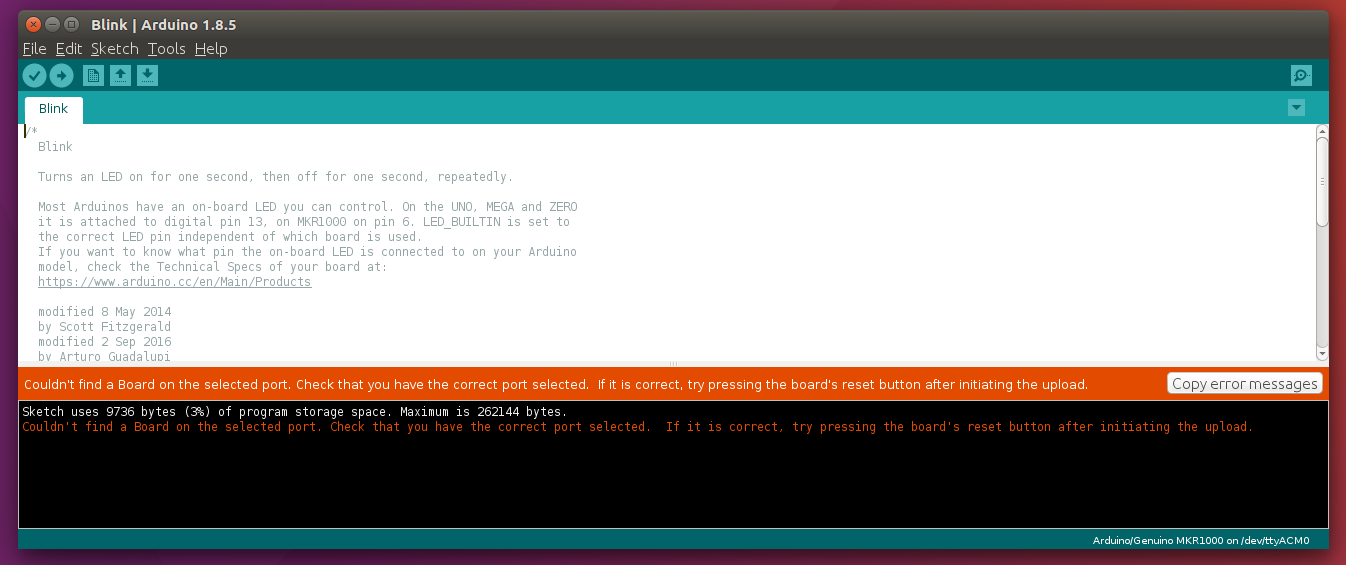
Another error :)
When you check whether the usb device is correct you will notice that its name changed.
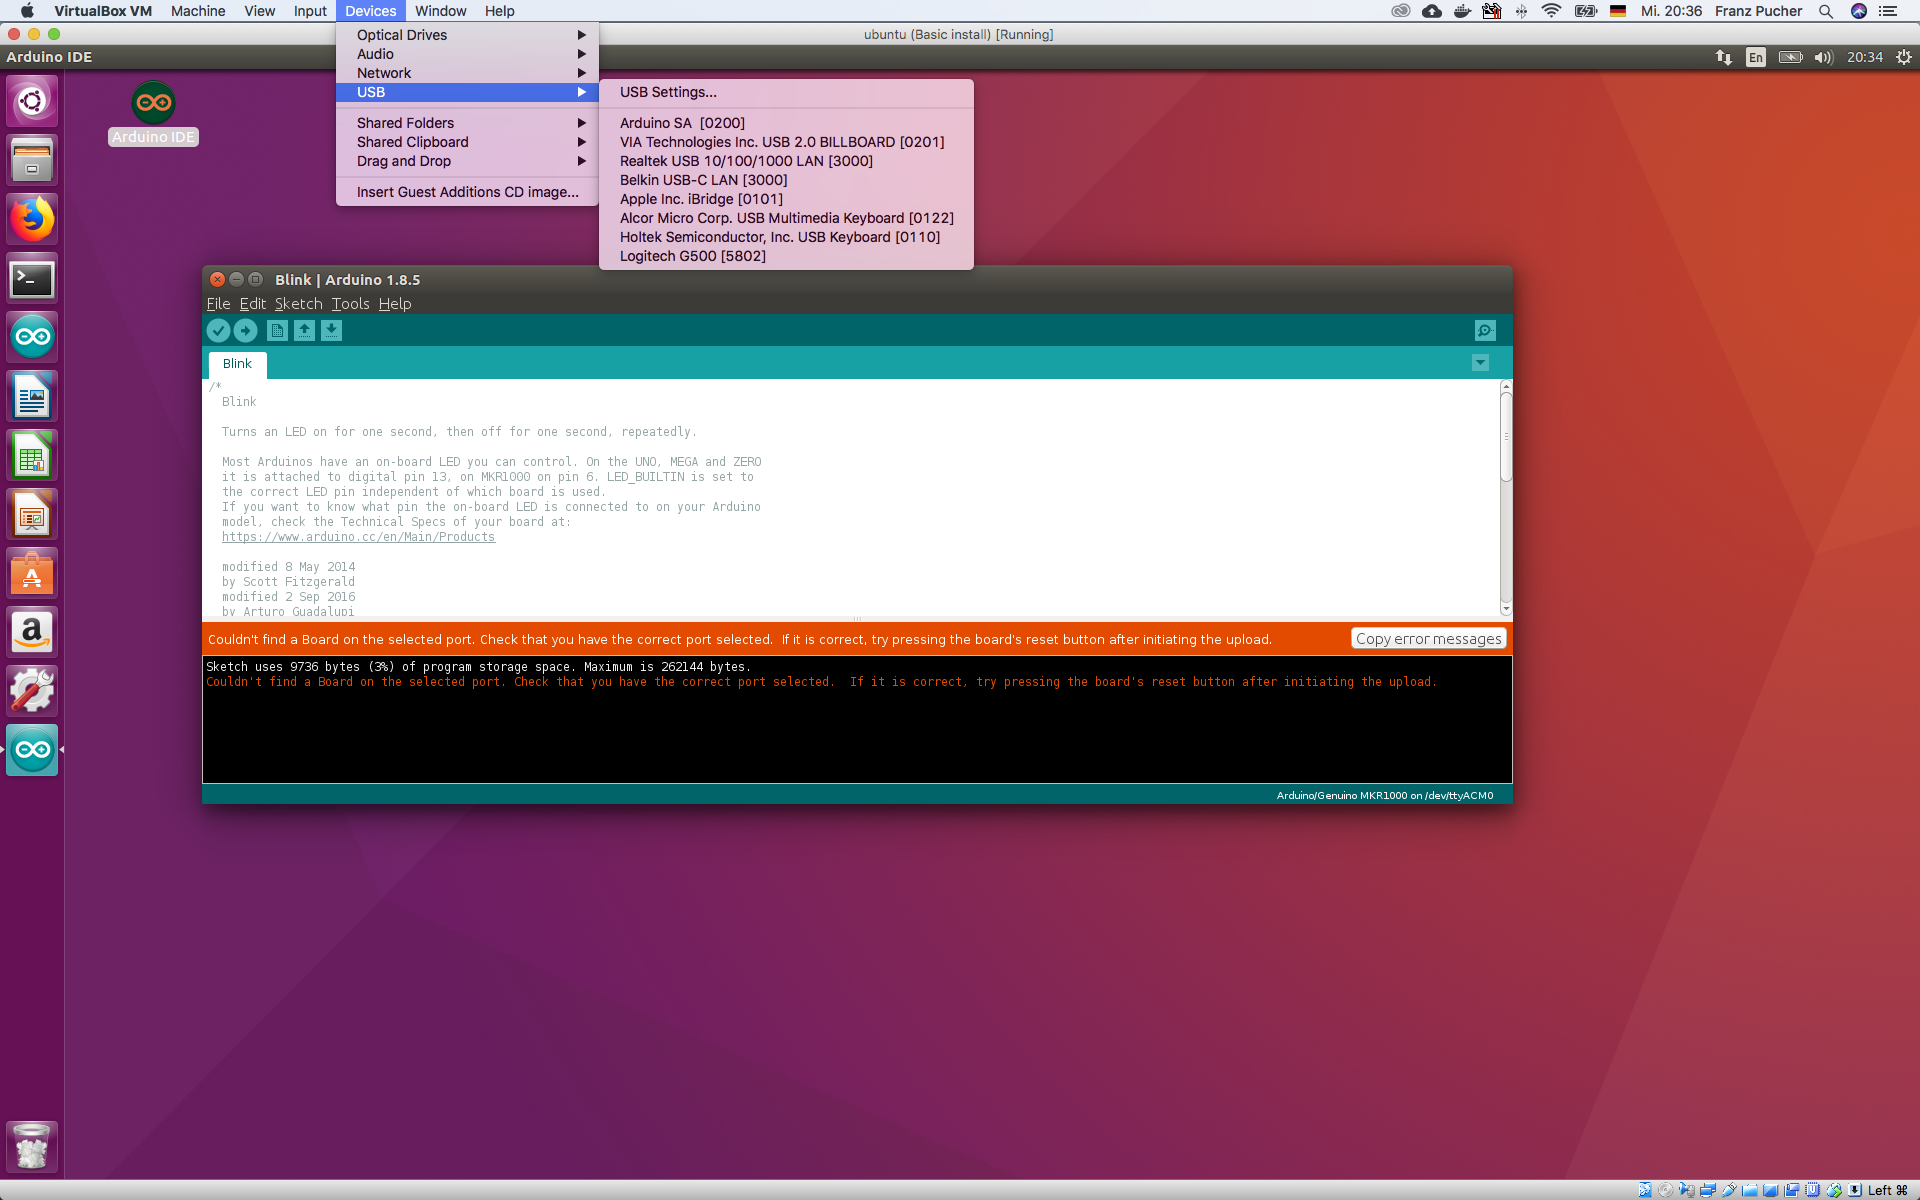
So add this “new” device also to the list of usb devices in virtualbox.
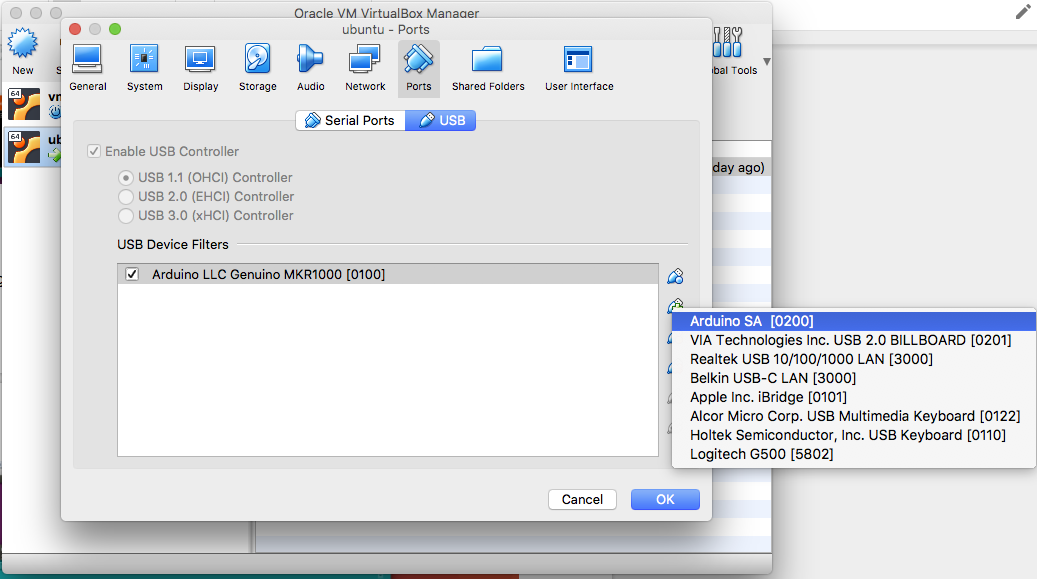
This previous step can be done while the machine is running, but be sure to check the device from the virtualbox Devices menu -> USB -> Arduino SA [0200]
After all those errors, we reached the trickiest part. You can try to upload again but will probably receive another error
Now to the magic trick:
Immediately after pressing upload, press the reset button on the arduino and hold it just right before the Uploading message shows up. If you get device not found in the output you released the reset button too late. Heads up, just try again until it works. This can take a while but it will work eventually.
If you did the magic trick correctly, you will see a similar message like this:
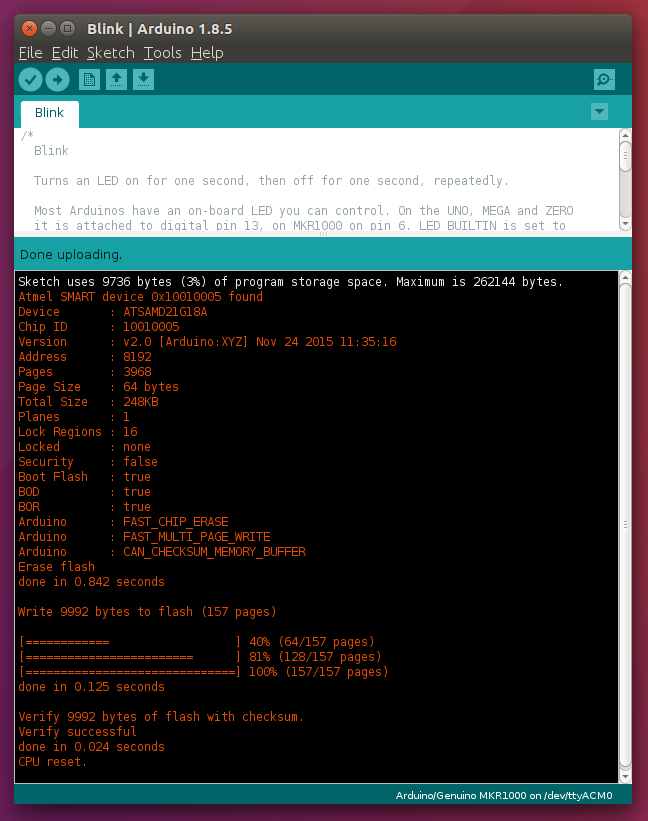
Successful magic upload. Congratulations :-)
If the trick worked, you also see the led on the MKR1000 blinking! Congrats, this is it, your first example is running on the Arduino! The rest of this tutorial is easy.
Note: Once the trick worked the first time for me, uploading other sketches succeeded even without doing this magic again.
Setup ROS Kinetic
To install ROS Kinetic on you Ubuntu Xenial 16.04, follow the on the official ROS wiki: http://wiki.ros.org/kinetic/Installation/Ubuntu
I put the setup instructions here for convenience.
Configuring Ubuntu 16.04 LTS for ROS
ROS Kinetic ONLY supports Wily (Ubuntu 15.10), Xenial (Ubuntu 16.04) and Jessie (Debian 8) for debian packages.
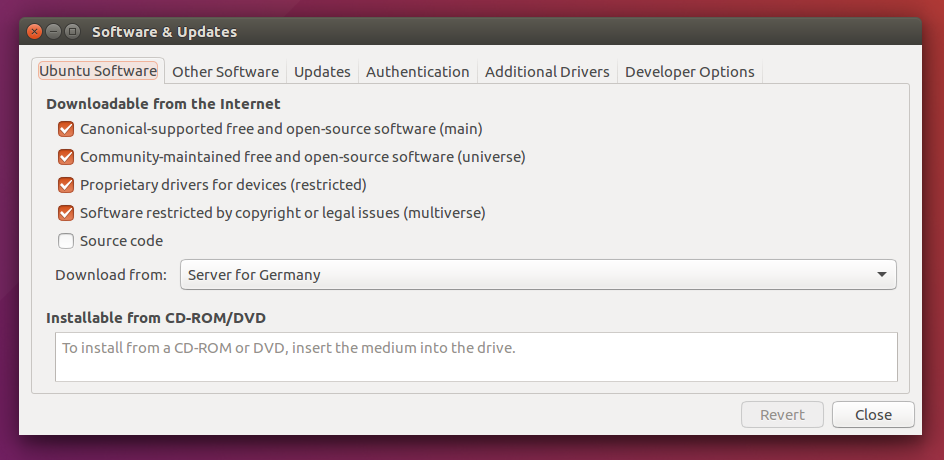
Configure your Ubuntu repositories
On my machine (ubuntuBox), the repositories did not have to be configured, because they were already set to allow “restricted,” “universe,” and “multiverse.” However, check if it is also done on your machine by in Software & Updates.
Next, setup your computer to accept software from packages.ros.org.
sudo sh -c 'echo "deb http://packages.ros.org/ros/ubuntu $(lsb_release -sc) main" > /etc/apt/sources.list.d/ros-latest.list'Set up your keys
sudo apt-key adv --keyserver hkp://ha.pool.sks-keyservers.net:80 --recv-key 421C365BD9FF1F717815A3895523BAEEB01FA116If you experience issues connecting to the keyserver, you can try it again or substituting hkp://pgp.mit.edu:80 or hkp://keyserver.ubuntu.com:80 in the previous command.
ROS Kinetic Installation
First, make sure your Debian package index is up-to-date:
sudo apt-get updateI used the desktop-full install option but feel free to choose lighter version of ROS (not tested though)
Desktop-Full Install: (Recommended) : ROS, rqt, rviz, robot-generic libraries, 2D/3D simulators, navigation and 2D/3D perception
sudo apt-get install ros-kinetic-desktop-fullInitialize rosdep
Before you can use ROS, you will need to initialize rosdep. rosdep enables you to easily install system dependencies for source you want to compile and is required to run some core components in ROS.
sudo rosdep init
rosdep update
Environment setup
It’s convenient if the ROS environment variables are automatically added to your bash session every time a new shell is launched (I assume you still run bash and do not use zsh):
echo "source /opt/ros/kinetic/setup.bash" >> ~/.bashrc
source ~/.bashrc
If you just want to change the environment of your current shell, instead of the above you can type:
source /opt/ros/kinetic/setup.bashDependencies for building packages
To install this tool and other dependencies for building ROS packages, run:
sudo apt-get install python-rosinstall python-rosinstall-generator python-wstool build-essentialAfter that you are done installing ROS Kinetic on ubuntu 16.04. Now you can checkout some tutorials on the ROS wiki, for example moving turtles with your keyboard. Or follow the rest of this exciting tutorial :-)
Rosserial Arduino Setup
To program the Arduino mkr1000 with the Arduino IDE we use ROS, specifically the arduino rosserial client library. This library can be installed with the following commands but checkout the official wiki for other options.
sudo apt-get install ros-kinetic-rosserial-arduino
sudo apt-get install ros-kinetic-rosserial
These commands created the ros_lib, which must be copied into the Arduino build environment to enable Arduino programs to interact with ROS.
The
cd <sketchbook>/libraries
rm -rf ros_lib
rosrun rosserial_arduino make_libraries.py .
Note: According to the official wiki, it should be possible to install ros_lib through the library manager inside the Arduino IDE (Sketch->Include Library->Manage Libraries…). When I tried to run an example this way I was not able to upload it due to an ROS version mismatch. I guess the ros_lib installed this way is not compatible with ROS kinetic previously installed on our ubuntu virtual box. Therefore I recommend using the installation process described above.
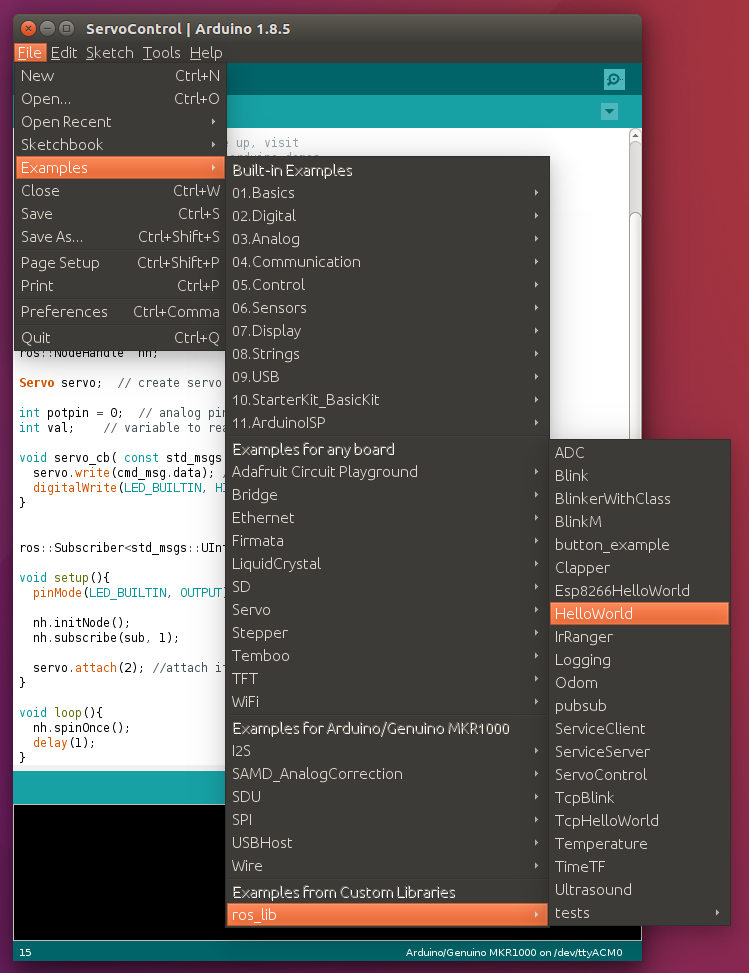
Hello World
After you have installed the rosserial_arduino client library you are ready to upload the Hello World example.
For more exciting experiments with rosserial and servos read the next post
Comments