This page explains how to setup a Raspberry Pi 4 with 8GB and an SSD to run Home Assistant.
The case I use for testing is the Argon One m.2. Later the Home Assistant setup might be moved to another place. For example running on a Virtual machine on a home server. However, for inital testing the Raspberry Pi is fine.
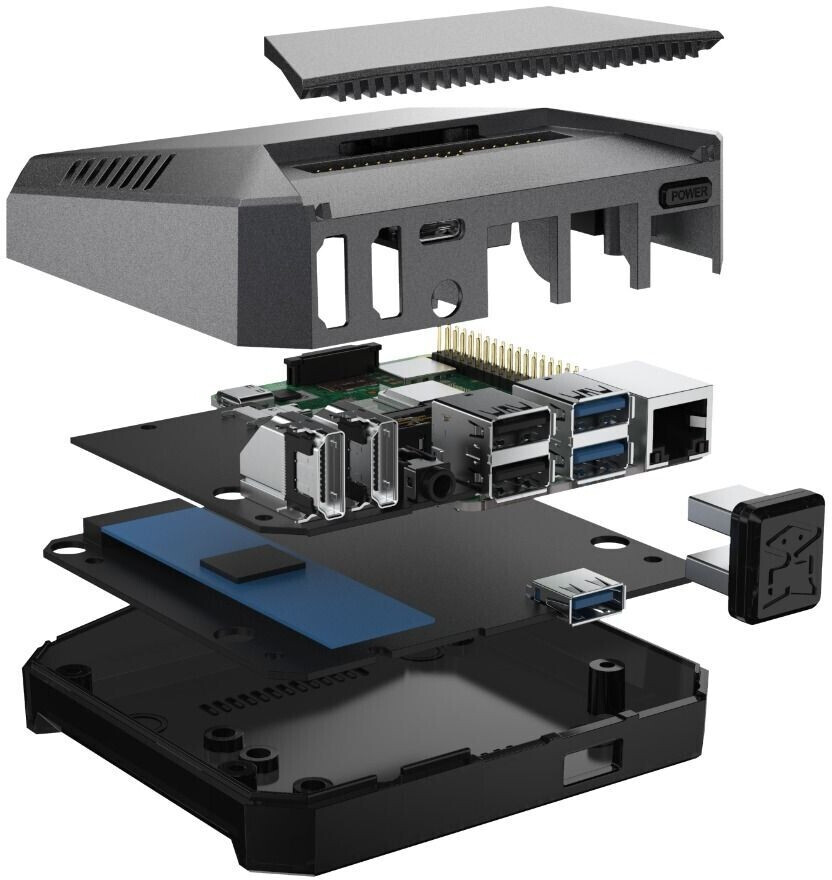
As you can see in the image the Raspberry Pi is connected via USB 3.0 to the SSD card. Therefore the Raspberry Pi needs to boot from USB instead from the SD card.
Boot from USB
To boot from an USB the Raspberry Pi 4 firmware has to be prepared. For this, we use Rapberry Pi imager, which is available for Linux, MacOS and Windows and has a much simpler means to prepare a Raspberry Pi 4 / 400 for USB boot. These instructions will set the Raspberry Pi 4 / 400 to look for a USB boot device, if none is found it will then boot from the micro SD card.
-
Download and install Raspberry Pi Imager from the Raspberry Pi website.
-
Insert a spare micro SD card into your computer. Note that this card will be erased.
-
Launch Raspberry Pi Imager and under Operating System scroll down to Misc Utility Images and left click to open the next menu.
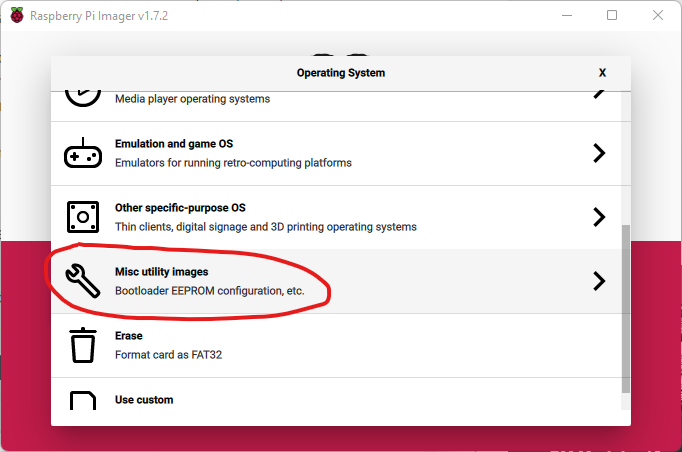
rpi imager USB boot -
Select Bootloader and then Select USB Boot. This will return us to the main menu.
rpi imager USB boot -
Under Storage click on the button and select the micro SD card. Double check that you have the right drive before proceeding.
rpi imager USB boot -
Click on Write to download and write a configuration image to the micro SD card. When done remove the card from your computer.
-
Insert the micro SD card into your Raspberry Pi 4 / 400 and power on. The green activity light will blink a steady pattern once the update has been completed. If you have an HDMI monitor attached, the screen will go green once the update is complete. Allow 10 seconds or more for the update to complete, do not remove the micro SD card until the update is complete.
-
Power off the Raspberry Pi and remove the micro SD card.
-
Flash Raspberry Pi OS 64 bit onto the SD card using again the Raspberry Pi Imager tool.
-
Into your Raspberry Pi, insert a micro SD card with Raspberry Pi OS and boot from micro SD to the desktop. This may take a little longer as the Raspberry Pi is looking for USB boot devices. It is also likely that the Raspberry Pi will reboot at least one time until it reaches the final Raspberry Pi OS desktop screen.
-
Launch SD Card Copier from the Accessories section of the start menu. Ensure that your SSD or Flash drive is connected to the Raspberry Pi using a USB 3 port.
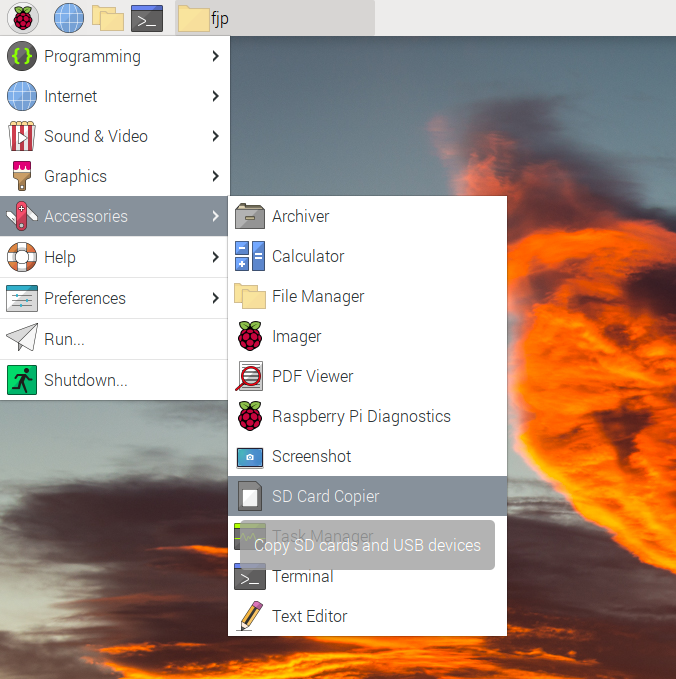
Open SD Card Copier -
Select the Copy From Device (micro SD card), and the Copy To Device (the SSD). Double check that the correct drives are selected and click Start to copy the files across. The process should take around ten minutes to complete.
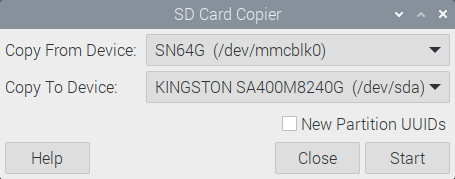
Select from where to copy the OS -
Accept that the content on the SSD will be removed

Accept eraseing the SSD -
Then click start and see the copying process

Preparation step 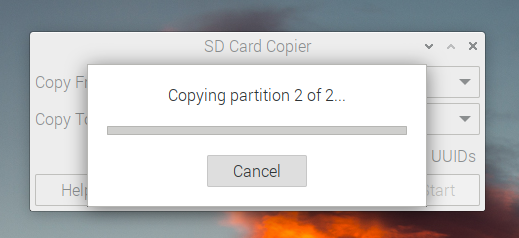
Copying ... -
Wait for the process to complete

SD Card to SSD copy complete - Shut down the Raspberry Pi.
- Remove the microSD card.
- Power up the Raspberry Pi and it will boot from the USB SSD or Flash drive.
Install the fan and power button driver
-
The fan and power button can only work with the driver. You can directly refer to the manual which comes with the case.

FAN jumper settings (source Waveshare) -
Open terminal of Raspberry Pi, install the driver by the following command
curl https://download.argon40.com/argon1.sh | bash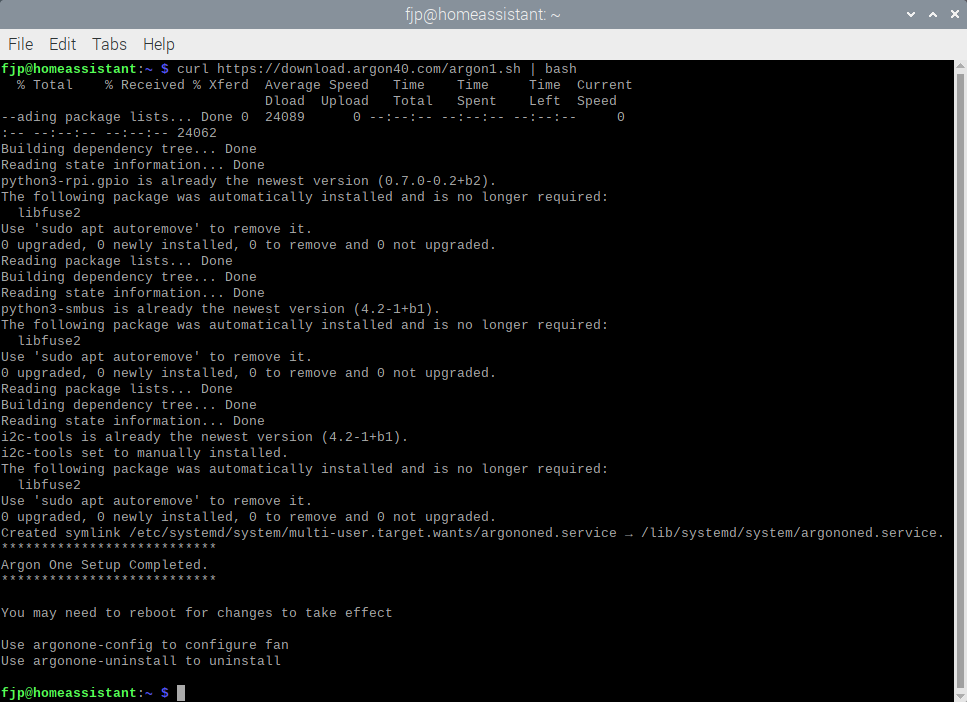
Install argon driver -
After installation, two programs are available, “configure” and “uninstall”, they can be used to configure and uninstall the driver.
argonone-config #configure driver argonone-uninstall #uninstall driver -
Configure the default fan settings
 $ argonone-config
 --------------------------------------
 Argon One Fan Speed Configuration Tool
 --------------------------------------
 WARNING: This will remove existing configuration.
 Press Y to continue:Y
 Thank you.

 Select fan mode:
   1. Always on
   2. Adjust to temperatures (55C, 60C, and 65C)
   3. Customize behavior
   4. Cancel
 NOTE: You can also edit /etc/argononed.conf directly
 Enter Number (1-4):2

 Please provide fan speeds for the following temperatures:
 55C (0-100 only):10
 60C (0-100 only):55
 65C (0-100 only):100
 Configuration updated.
Configure argon driver
Home Assistant Installation
The latest Home Assistant 64 bit can also be installed with Raspberry Pi Imager:
- Connect the bottom of the Argon One m.2 case that contains the m.2 connector board to a PC that has Raspberry Pi Imager installed
- Inside Raspberry Pi Imager choose OS
- Navigate to “Other specific-purpose OS”
- Select “Home assistans and home automation”
- Home Assistant
-
Home Assistant OS 8.2 (RPi 4/400)

Write Home Assistant to the SSD -
Click write and confirm that the data on the SSD will be erased

Write Home Assistant to the SSD -
This will prepare the data, write and verify the flashing process

Write Home Assistant to the SSD 
Write Home Assistant to the SSD 
Write Home Assistant to the SSD 
Write Home Assistant to the SSD -
Cli for the writing process to complete

Home Assistant write complete - Connect the Argon One m.2 bottom again with the Raspberry Pi and boot it up.
- Wait until the Home Assistant boot screen appears
-
Access Home Assistant with the browser on you development PC

Write Home Assistant to the SSD
References
- https://www.tomshardware.com/how-to/boot-raspberry-pi-4-usb
- https://www.waveshare.com/wiki/PI4-CASE-ARGON-ONE-M.2
Comments