Ubuntu 16.04 LTS Virtualbox on macOS 10.13.2 Host
Setup Ubuntu Virtualbox
To set up a virtualbox running Ubuntu Xenial 16.04 LTS on a Mac Host running macOS High Sierra 10.13.2, start by downloading the ubuntu image from https://www.ubuntu.com/download/desktop. While the image is downloading got to the virtualbox webpage at https://www.virtualbox.org/wiki/Downloads and download virtualbox 5.2.8 by selecting the Mac OS platform package.
Setup Virtualbox
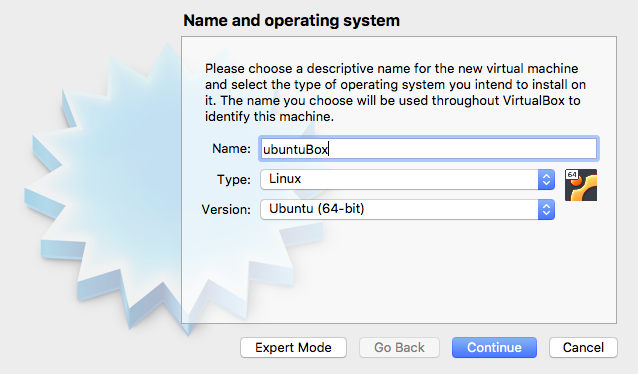
After installing the virtualbox we can create a new virtual machine by pressing New. The process to setup a ubuntu virtual machine is quite self explaining and I will mention only some important steps. Just choose a name for example ubuntuBox. Virtualbox should automatically change the Type and Version.
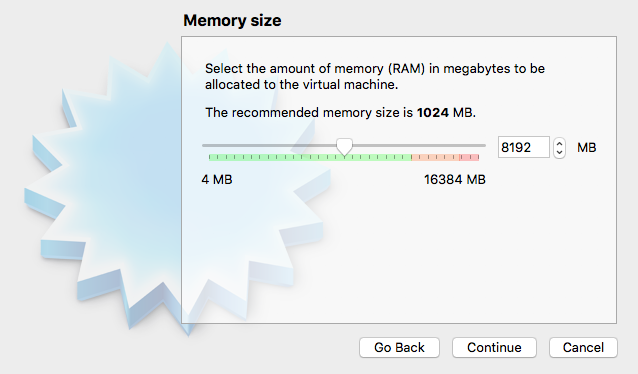
In the next step choose as much RAM size as possible to get a fast virtual machine. In my case I selected 8192 MB RAM.
Create a virtual hard disk and select VDI (VirtualBox Disk Image) file type because we will use this virtual machine exclusively with virtualbox and no other hypervisor https://en.wikipedia.org/wiki/Hypervisor aka virtual machien software, like parallels or vmm. Set the size to 50 GB. Less than 50 GB will probably work as well but ubuntu takes up around 10 GB and the size increases with installed updates and software like ROS. We choose Dynamically allocated disk type because it helps to keep the physical storage on the mac host small with less software installed.
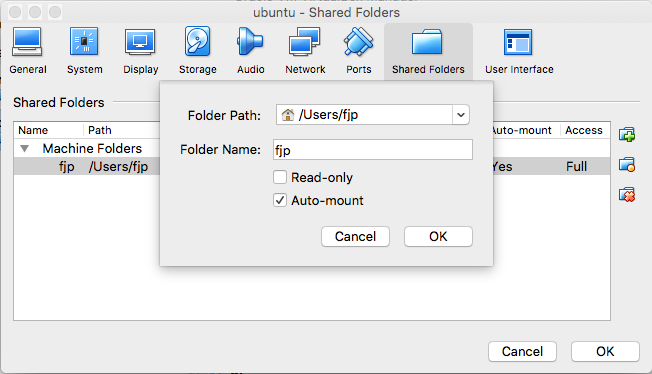
Next we are going to tweak the virtual hardware specs of our ubuntuBox virtual machine. Therefore, select the machine and press Settings. It is convenient to have a shared clipboard between host and guest system and enable drag and drop. This can be done in the General tab and selecting the two checkboxes. Feel free to explore the different tab settings and increase the number of cores if you have enough. I left this untouched at one core. You might want to have a shared folder to share large files between the mac host and the ubuntu guest. This can be set up in the Shared Folder tab where you can select a folder from your mac host you would like to share. Select path and name for the share and use auto mount to avoid doing this manually on the ubuntu terminal later on. I used my home folder on the mac in this example.
By now the download of Ubuntu 16.04 is hopefully finished. After that you are ready to boot your new virtual machine with the downloaded image inserted. To mount the image, go to the storage tab and select the downloaded ubuntu image. Then start the virtual machine for the first time and wait for the ubuntu setup process to start.
Setup Ubuntu 16.04
The main guid from ubuntu is available here. Or you can follow the short description that follows:
To install ubuntu 16.04 LTS follow the steps on the screen. Make sure your mac host is connected to the internet. This is required to install updates during the installation process of ubuntu. Select a language, region and your keyboard layout. Choose the option to erase the complete (virtual) disk we created in the previous step and install ubuntu on this virtual device. Choose a username and password. After the installation process finished, ubuntu will ask you to reboot the fresh system. Eject the ubuntu image from the virtual disk device and press enter. After the first reboot, it is a good idea to update ubuntu using the following commands:
fjp@ubuntuBox:~$ sudo apt update
fjp@ubuntuBox:~$ sudo apt upgrade
Next, you have to reboot the system again. To finish the setup of your shared folders, it is necessary to add your user to the vboxsf group. This can be done with the following command in the ubuntu terminal:
fjp@ubuntuBox:~$ sudo adduser $USER vboxsfNow you have a running ubuntu 16.04 LTS on macOS Host and are good to go work on some exciting projects.


Comments